B800 - DC Block Installation

DC Installation Block


With its universal adaptor plate, EV Blocks make electric vehicle charging point installation easier than ever.

The step-by-step installation process quickly delivers superior foundations for your electric car charging station. You can install EV Blocks in any weather, meaning you never have to worry about picking the right moment.


Step 1 – PREP AND EXCAVATE AREA

  1. Mark the location in which the B800 Block will be installed (survey as required).
  2. Excavate to the lines and grades shown on the construction drawings. Excavation may be completed using auger drilling or typical open-cut excavation. The contractor shall be careful to minimise over-excavation (unless required) or disturbance or the surrounding soils. Excavation limits around the units shall be 100mm to 150cmm beyond the edges of the DC Block unit.
  3. The bottom limits of the excavation should extend at least 6-inches (15cm) beyond the height of the B800 Block unit or regional frost depth requirement, whichever is greater (over-excavation). The bottom limits should be well compacted and flat to allow for installation of at least a 6-inchthick (15cm) crushed stone foundation (Type 2 MOT Stone) and shall be capable of supporting no less than 95 kN/m2. Greater amounts of crushed stone will be needed in areas where over-excavation is required. The crushed stone foundation shall be compacted so as to provide a smooth, hard surface on which to place the B800 Block unit.

Step 2 – PLACE EV BLOCK AND CONDUIT AND INSTALL CONDUIT

  1. The B800 Block unit shall be lifted and placed into the excavated hole.
  2. Lifting can be achieved by threading in three, suitably rated M12, lifting loops into the recessed anchor points on the upper surface of the unit. The working load limit of each lifting loop shall be no less than 500kg. Lifting loops can be used with suitably rated lifting slings or straps working load limit of no less than 500kg that have a minimum length of 1000mm.
  3. Lower the DC Block unit into the excavated hole ensuring that the side openings are properly aligned for the site and installation requirements.
  4. Once the B800 Block unit is in place, ensure that it is level in both directions and that the upper surface elevation is set to the project requirements within 12mm.
  5. Brace the DC Block unit as required to maintain the location and level until the unit can be backfilled.
  6. Once all of the conduit is installed via the side openings by the Contractor or the site electrical contractor, backfill the B800 Block unit using either crushed stone or granular backfill. Either backfill material used shall be placed in maximum 15cm lifts. If granular backfill is used, the material shall be compacted to 95% Standard Proctor density determined in accordance with ASTM D698. Backfill material shall be placed to an elevation as shown in the Project Plans accounting for any paving or landscaping material that is to be installed around the unit.
  7. Install the required paving or landscaping material around the B800 Block unit as shown in the Project Plans. Ideally level with the top face of the DC Block where possible.

Step 3.1 – Passive Installation

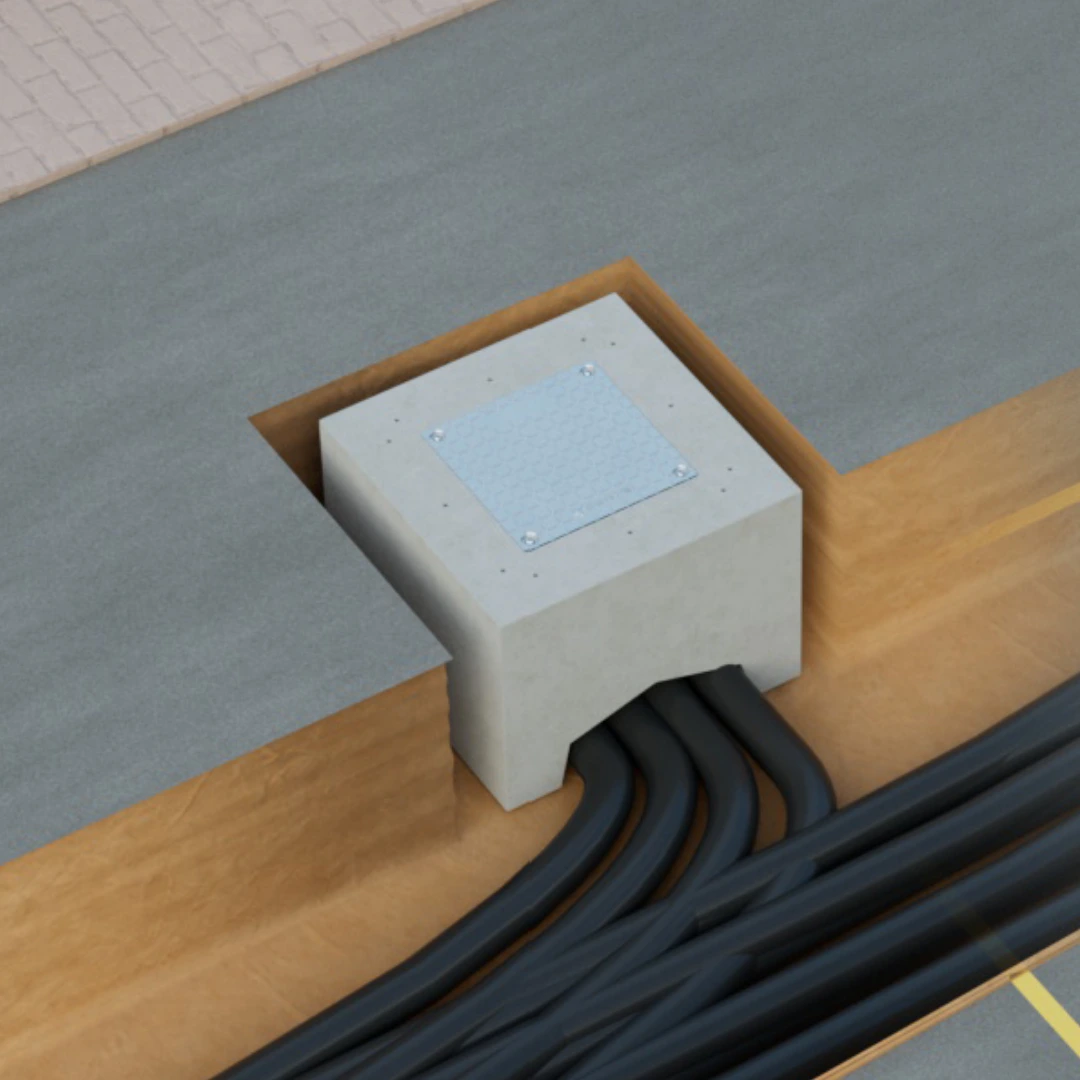
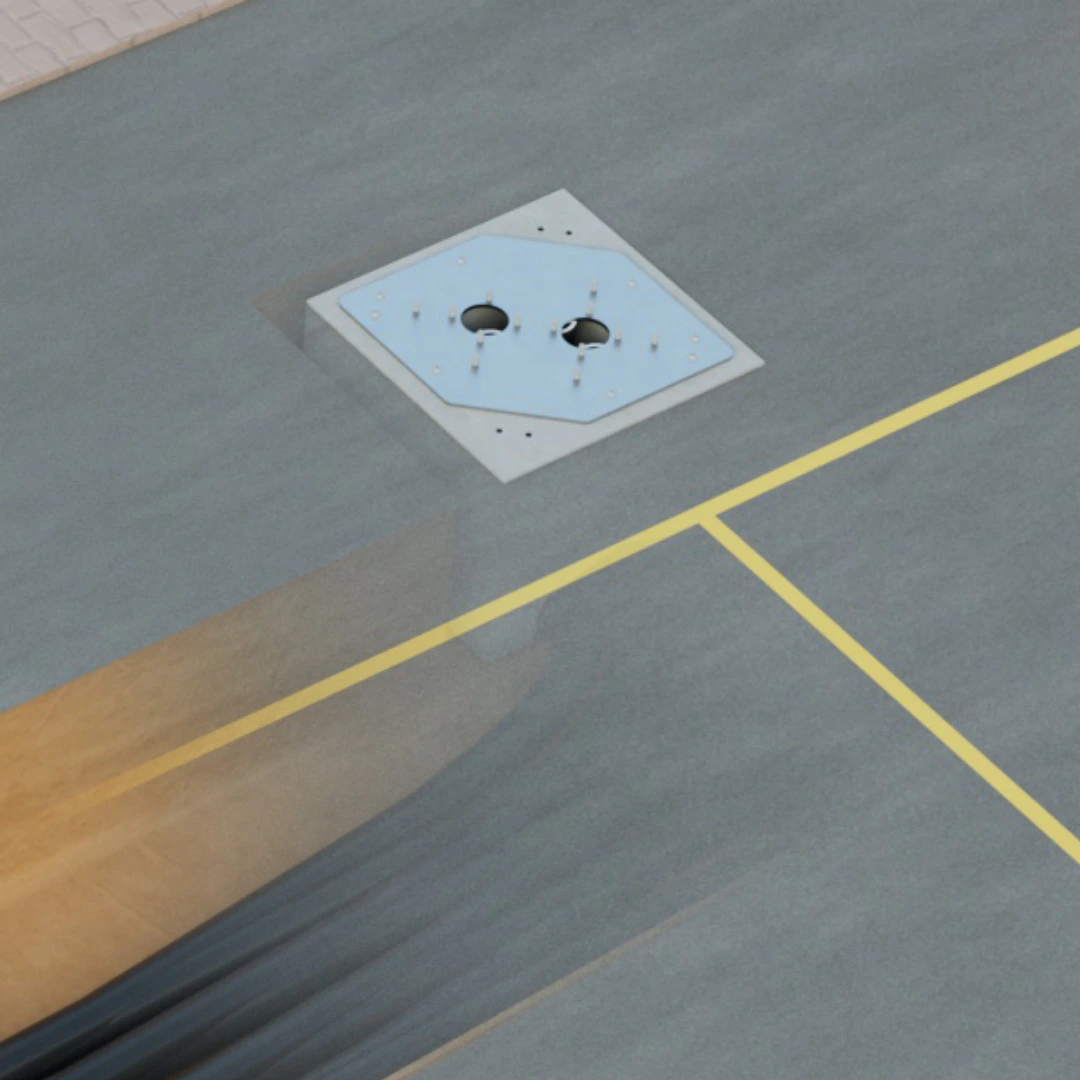
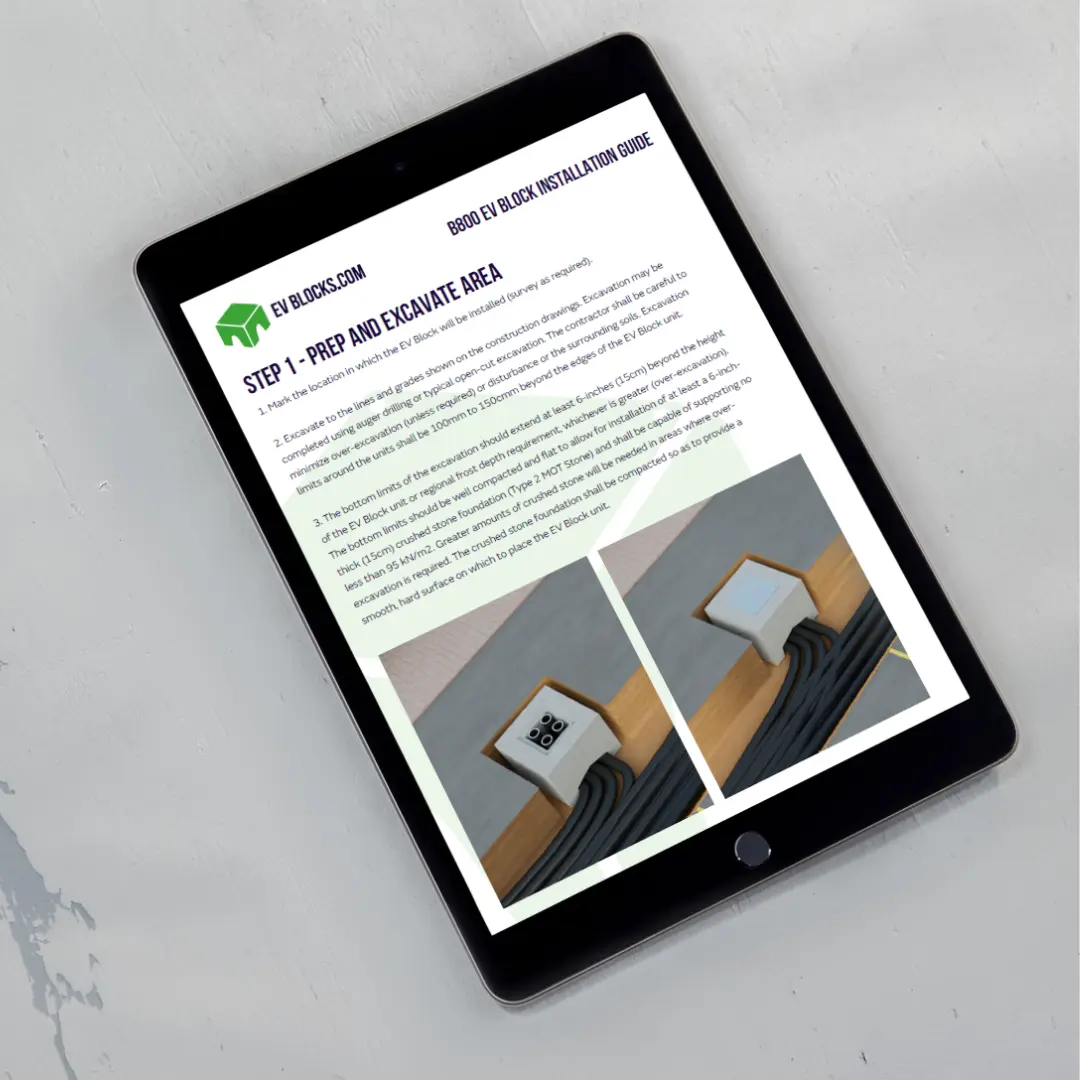
Installation of the the passive adaptor plate

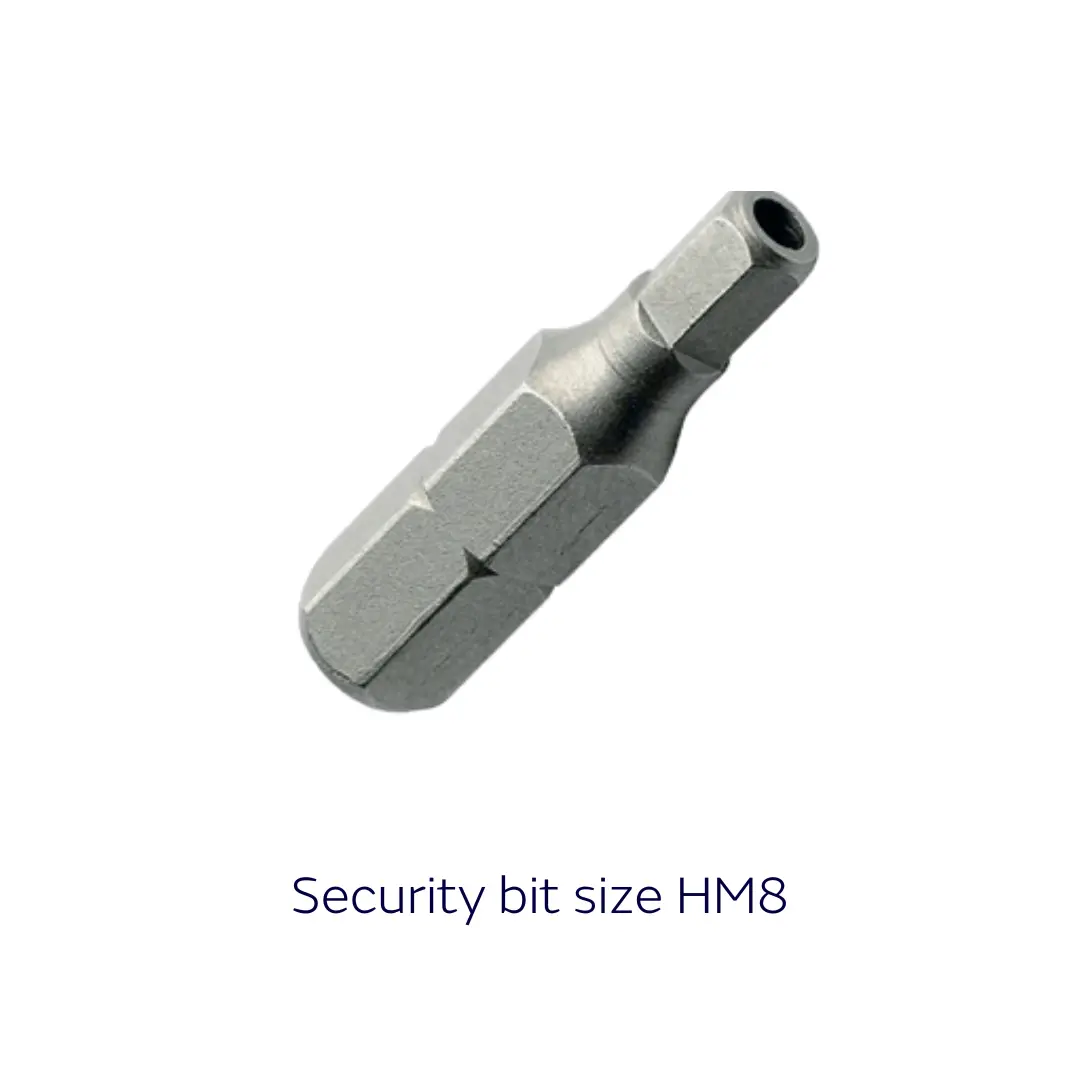
Using the 4 M12x.1.75 Hex-Pin set screw and washers the passive adaptor plate can be secured to the concrete element. The universal design of the B800 allows the EV Blocks the below ground infrastructure to be installed before the EV charger has been specified or selected, future-proofing your project.


Summary

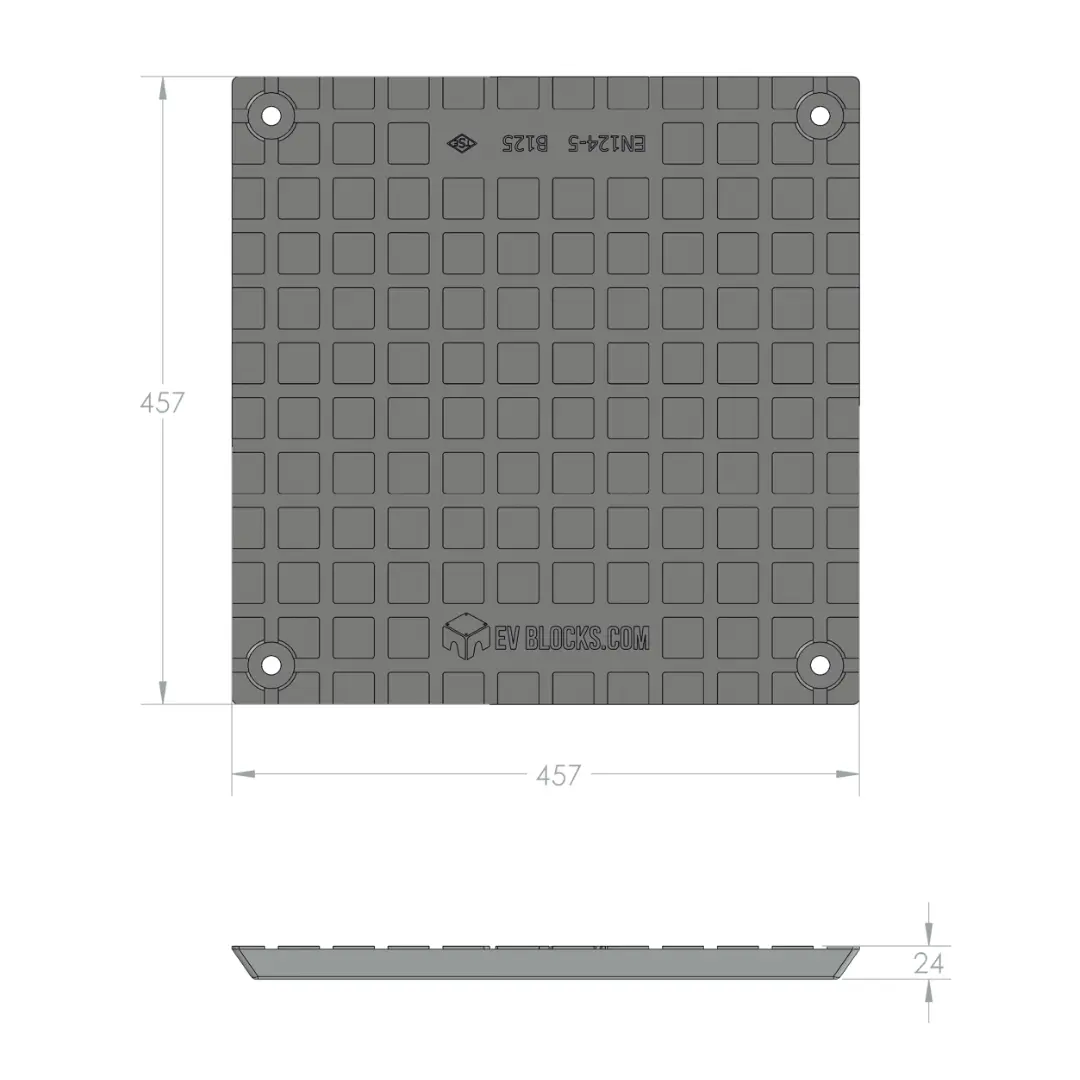
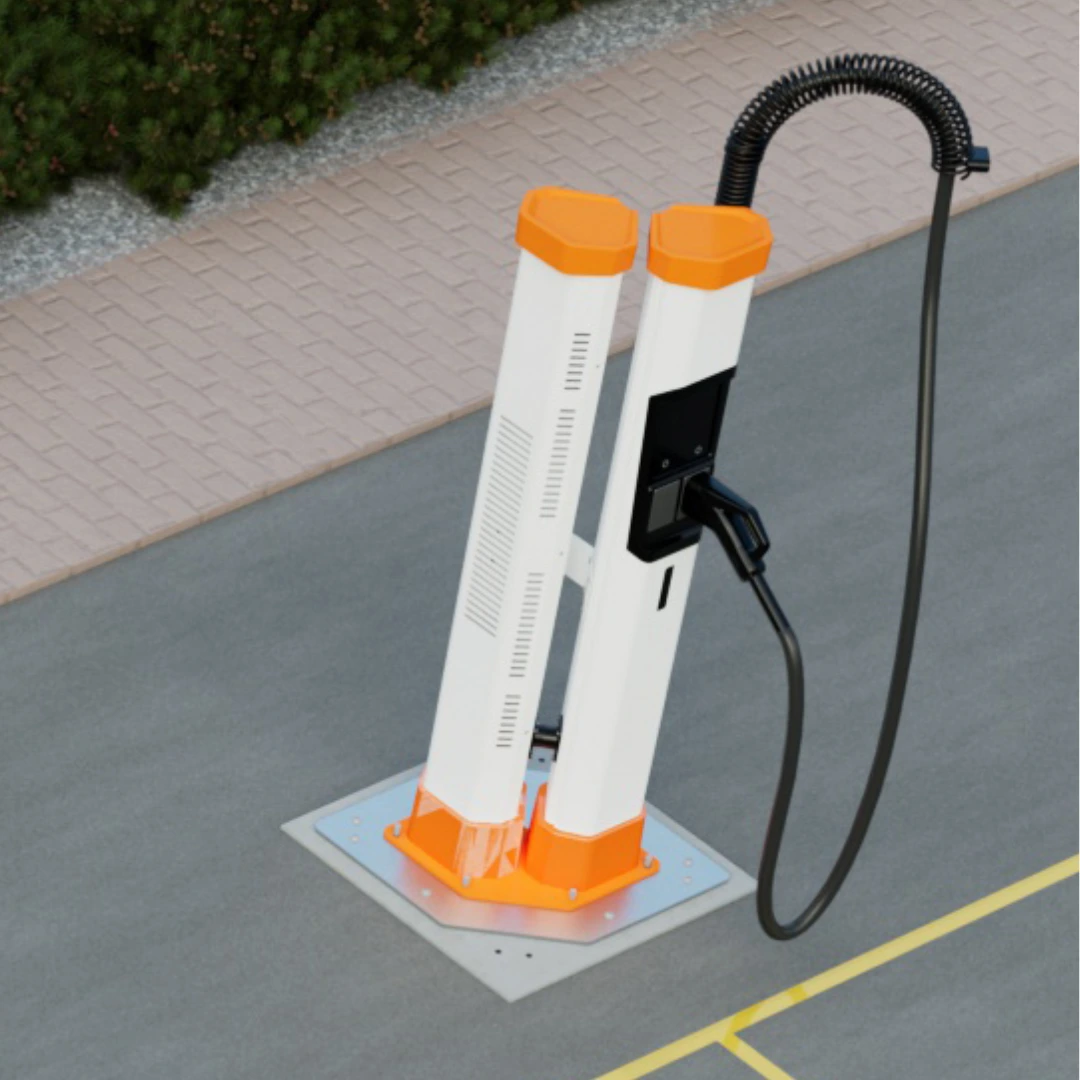
Our passive adaptor plates have a slip resistant surface. This makes the product ideal for installing additional EV charger foundations at relatively low cost as the EV Blocks can be installed in a passive state until cabling and additional infrastructure is required, future proofing sites. Our engineered solution ensures a uniform finish every time. EV Blocks can be installed in any weather conditions, reducing time and lost productivity.

Step 3.2 – Active Installation

  1. Using the M12 1.75x30mm Hex-Pin fasteners bolt down the single interface plate or two part wing assembly to the concrete element. When fitting the two part wing assembly’s ensure that there is a 1.5mm – 2mm gap where the two pieces meet.
  2. Once the interface plates have been positioned torque these fasteners to 80Nm.
  3. The EV Charger can now be lowered into position, depending on the EV charger being installed, there maybe studs to lower the charger on to or tapped holes to be aligned to the base of the charger.


For alignment with the tapped holes a short threaded rod can be used on 2 of the threaded holes for the charger to be lowered on to, these can then be removed once the other fasteners have be inserted and secured.

Get your guide today

Get your guide today

Download our Full Installation guide for your next EV Charge Point installation

Learn More About B800 Block

Learn More About B800 Block

Stay Updated

Stay powered up with the latest updates from EV Blocks—sign up for our newsletter today!