EV Blocks - Installation Guide

EV Block Installation


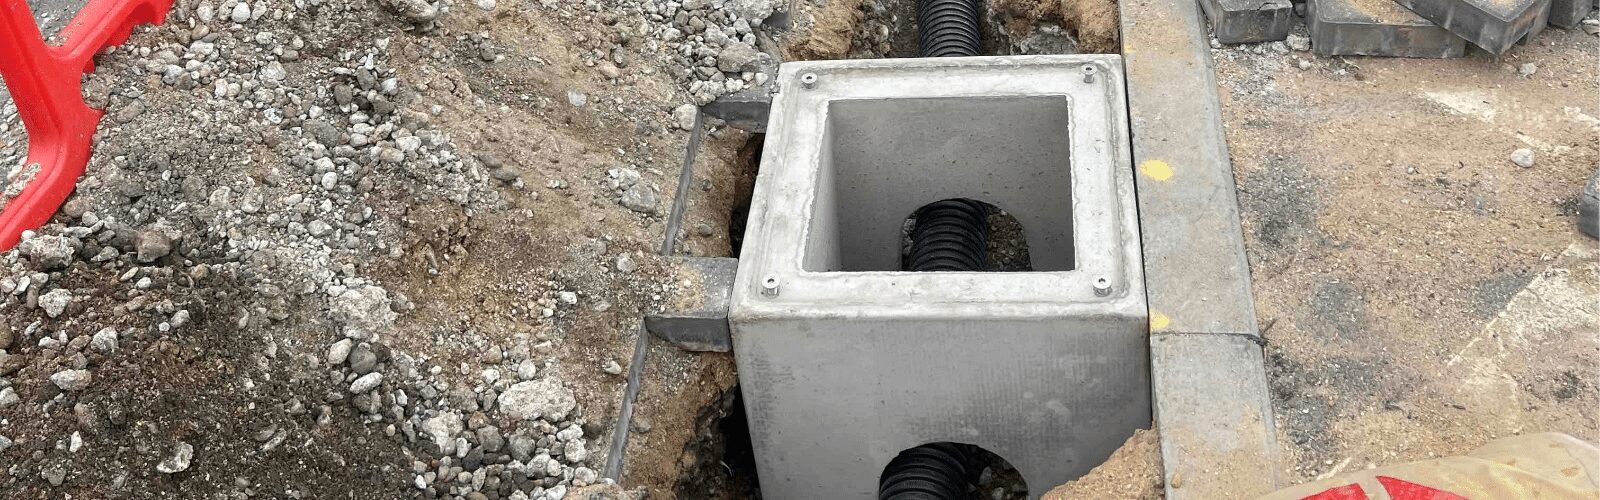
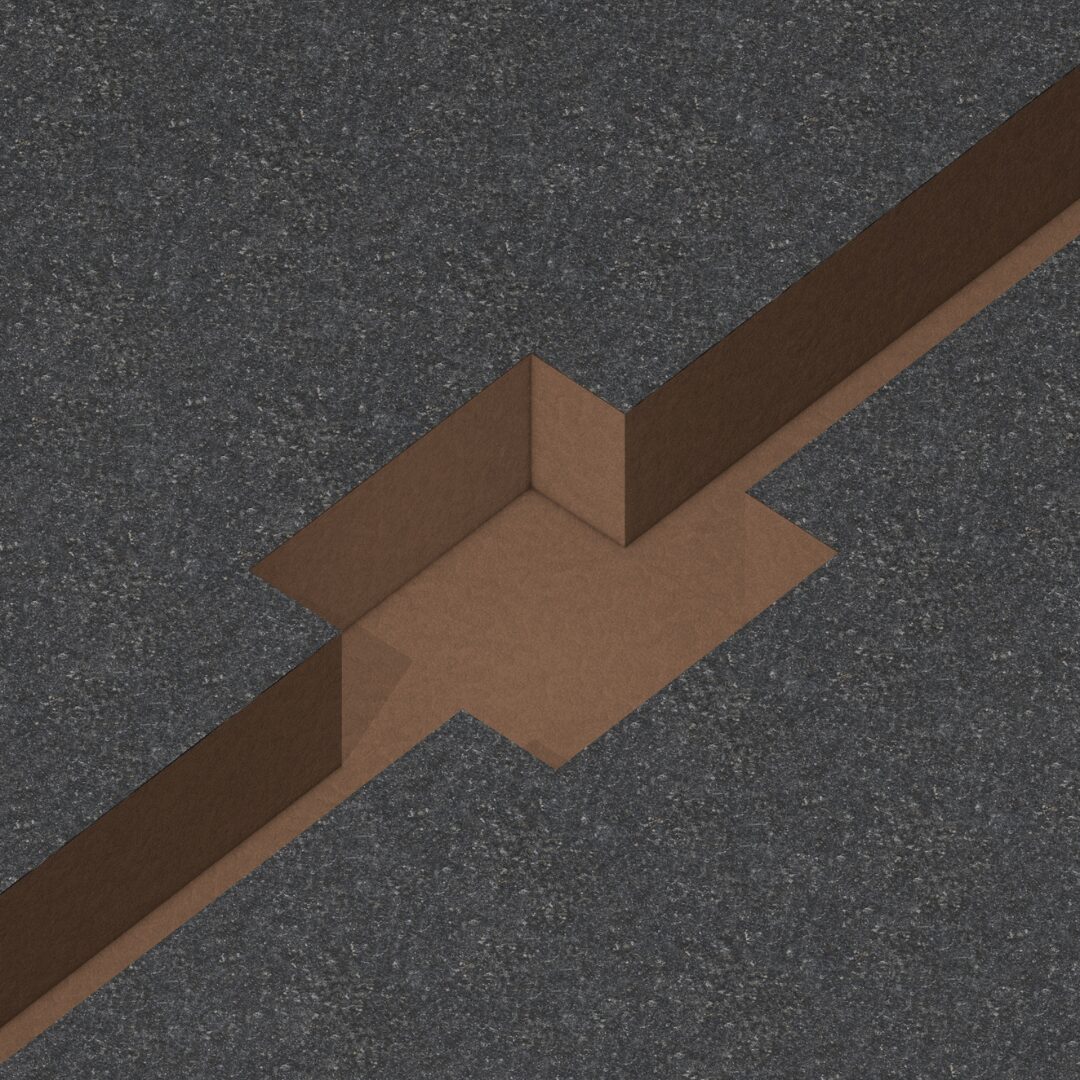
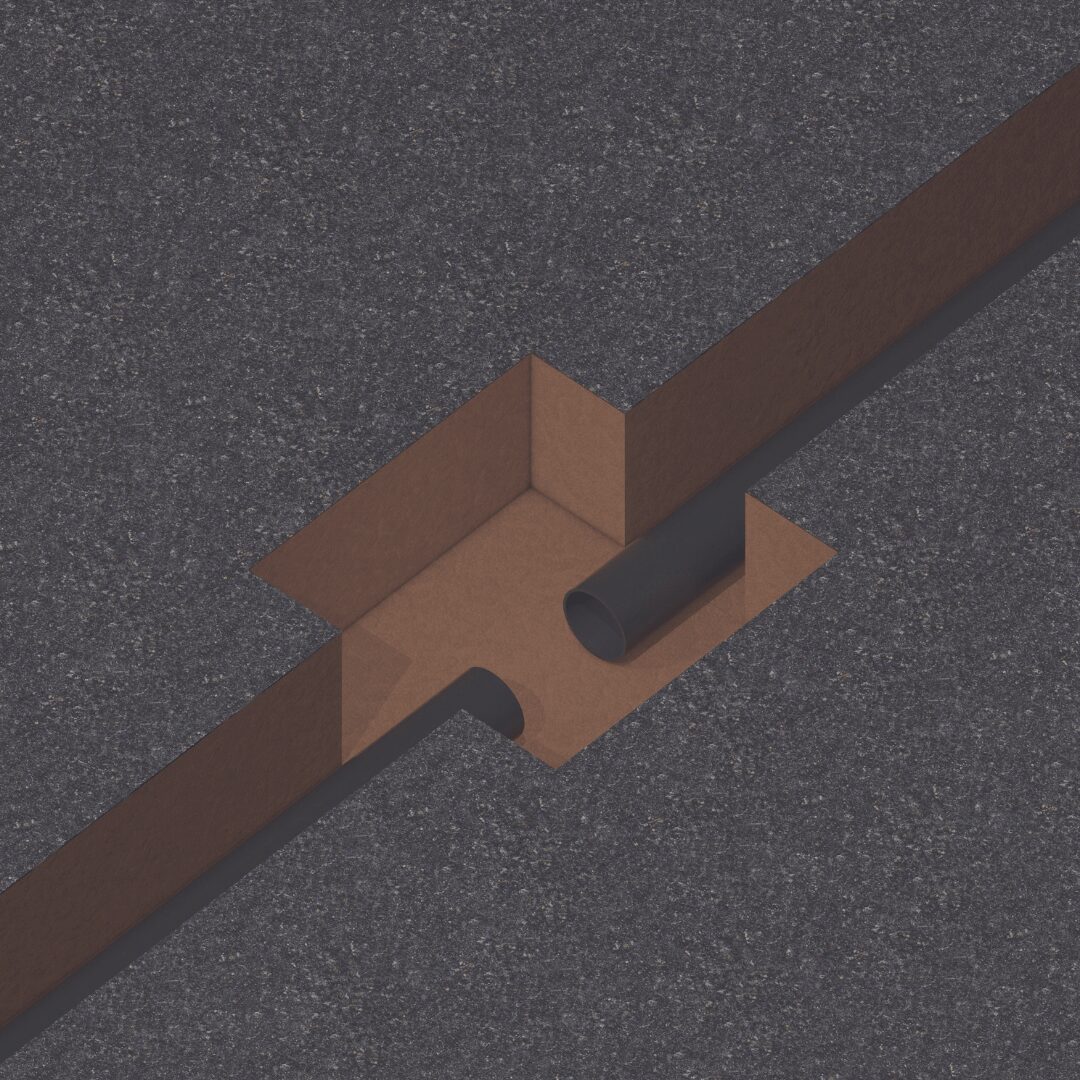
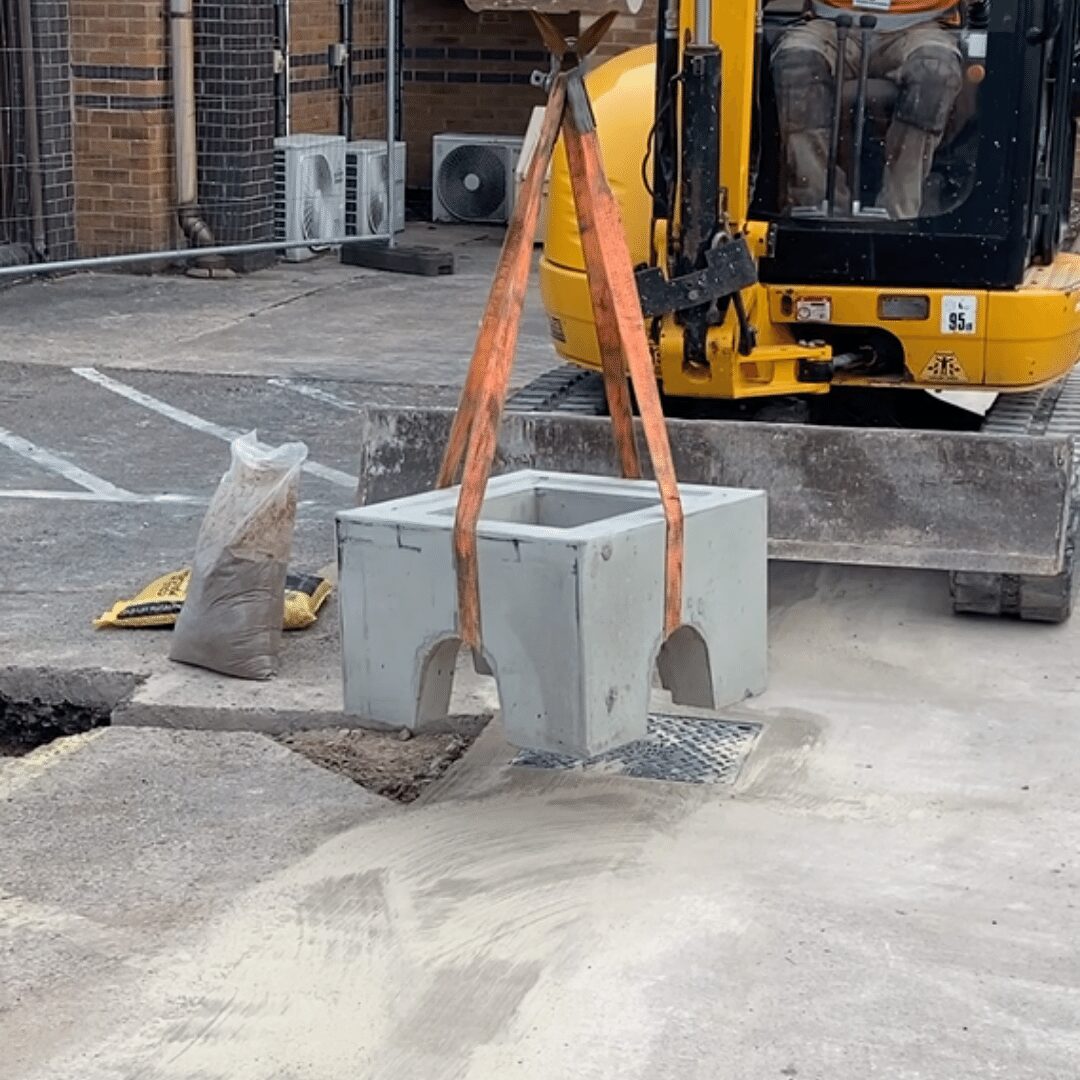
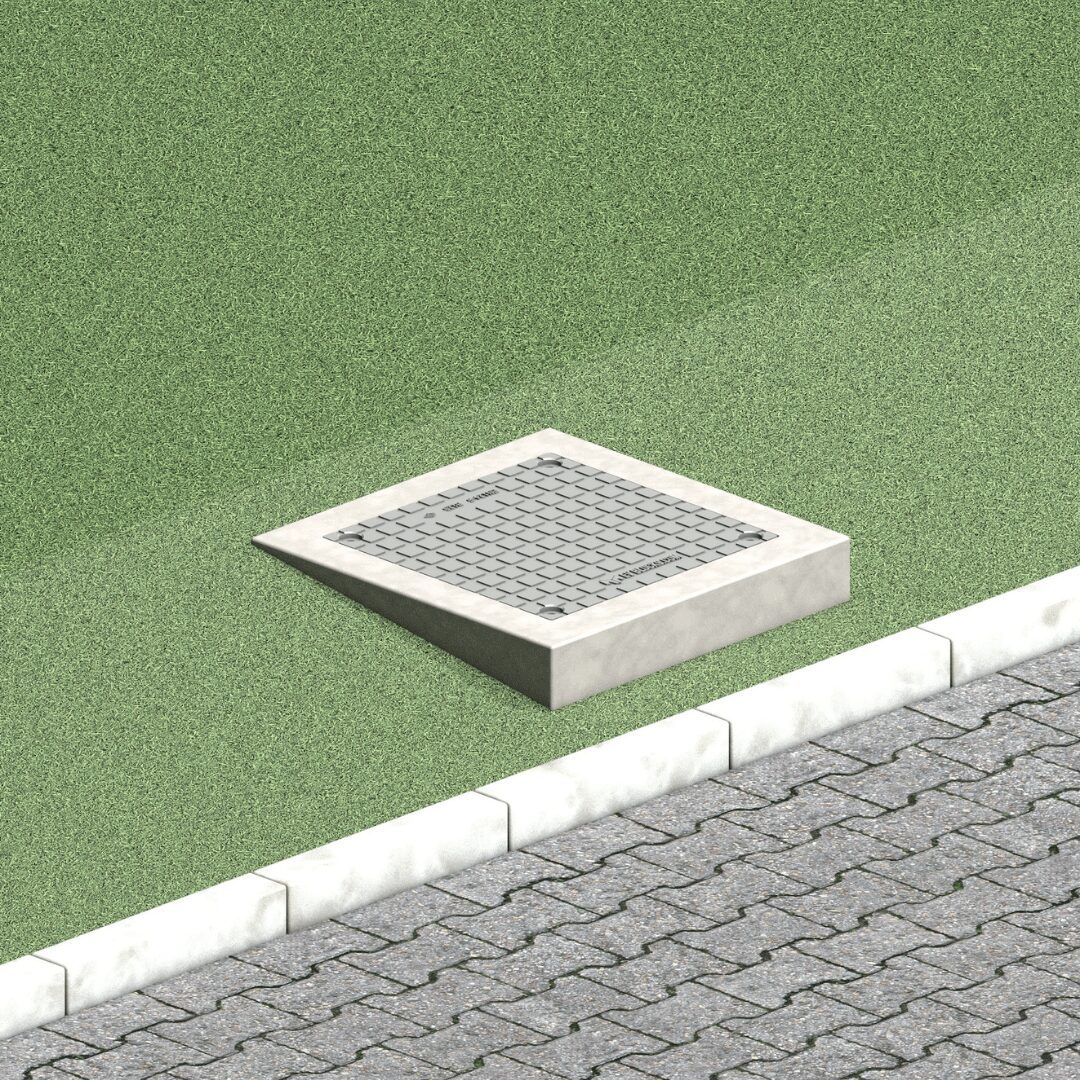
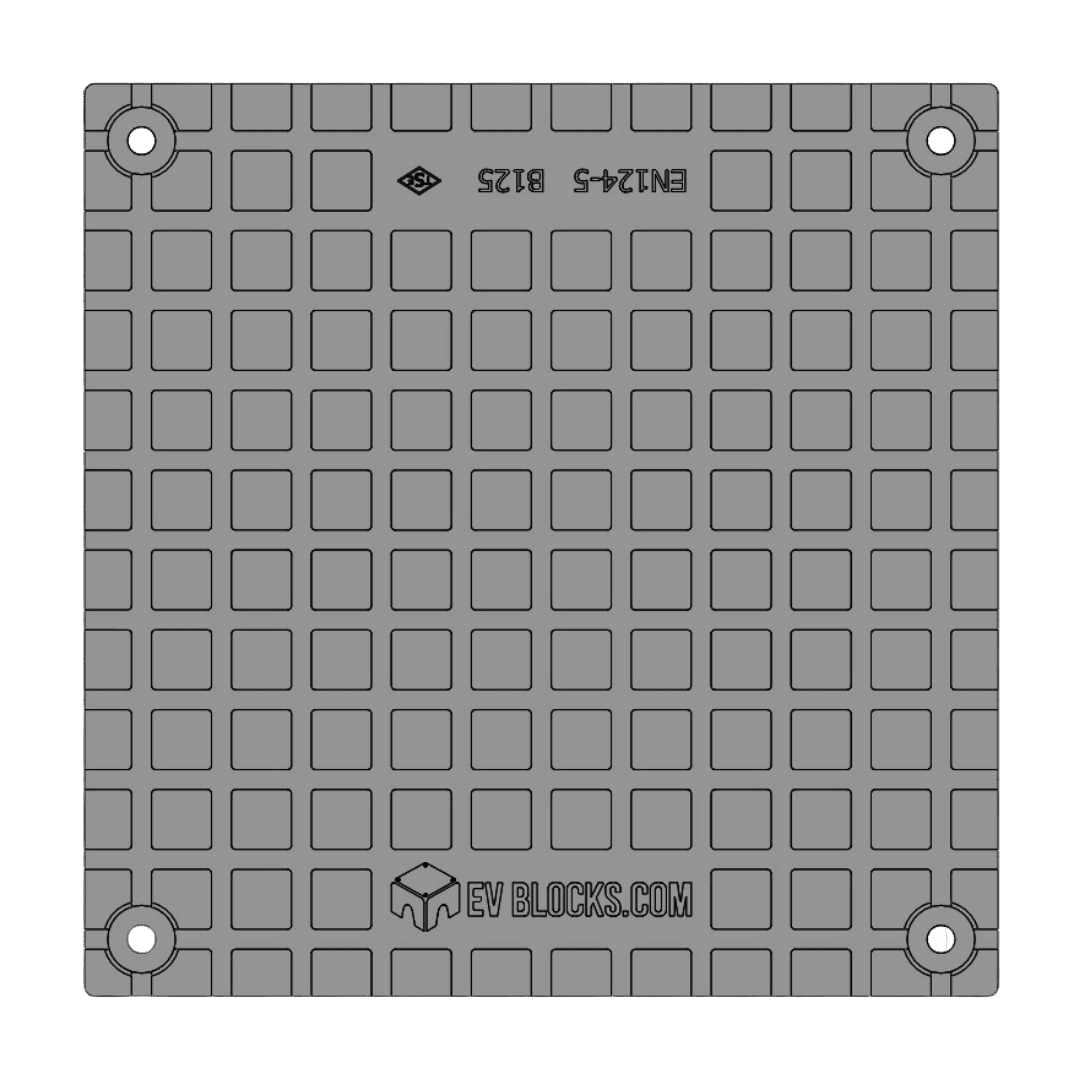
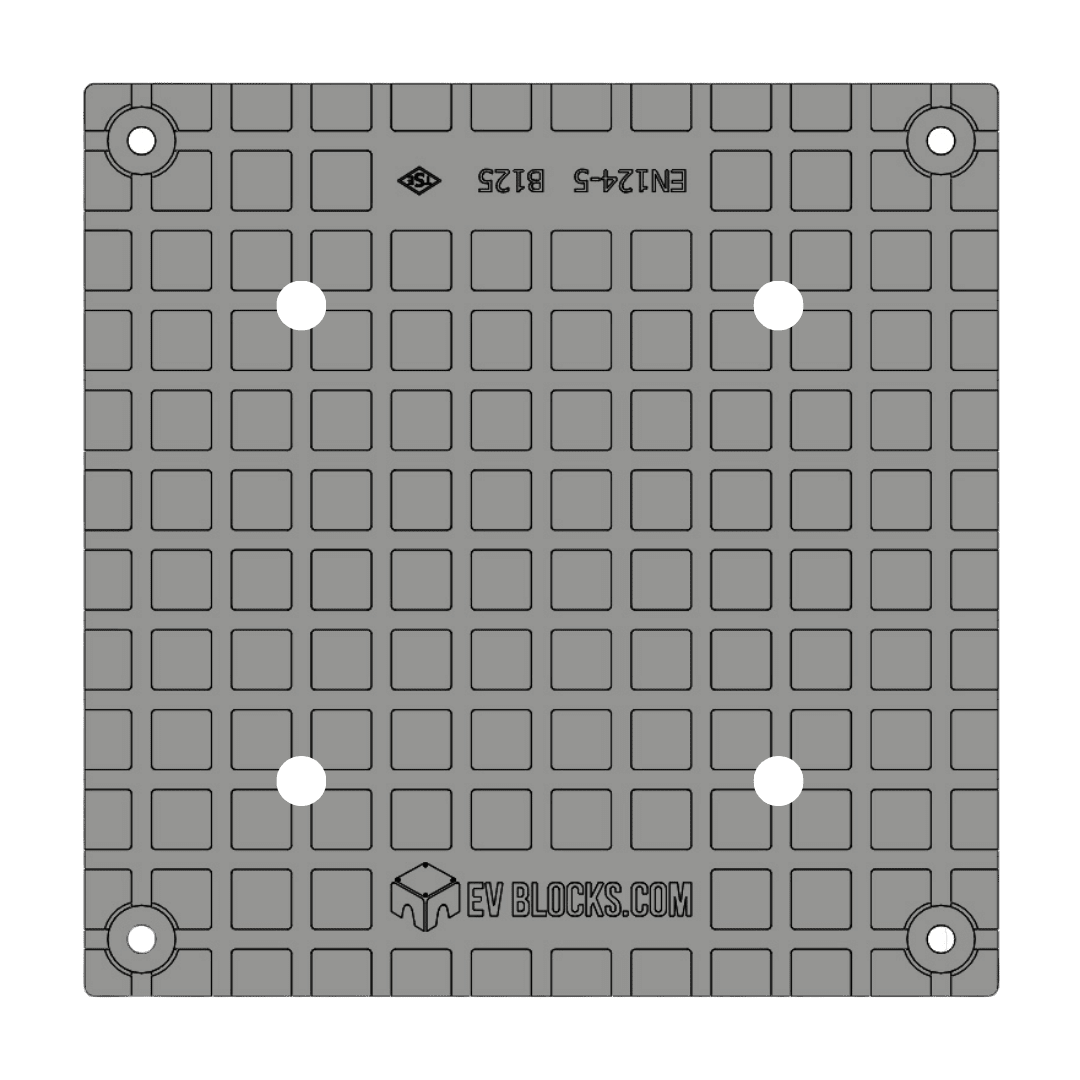
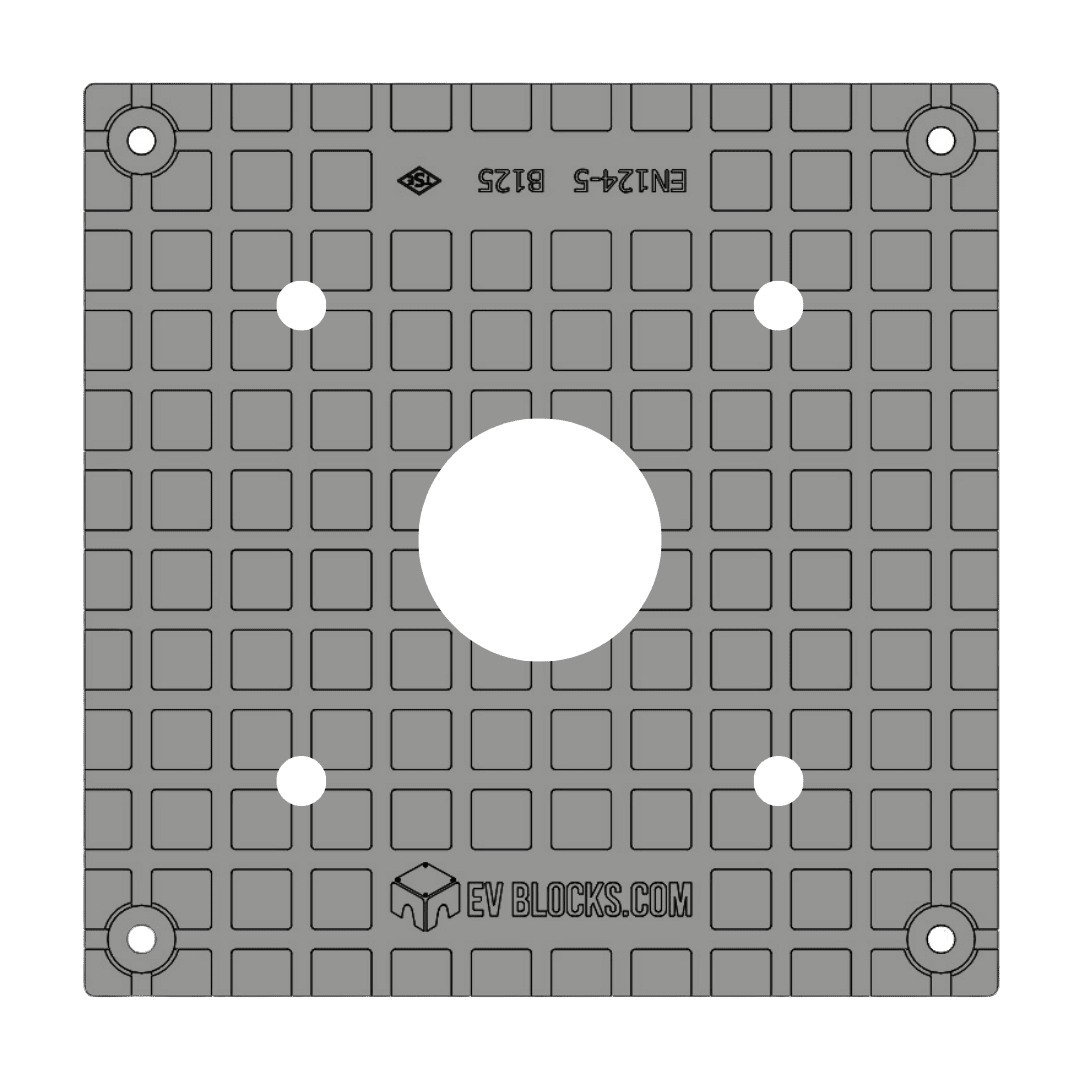
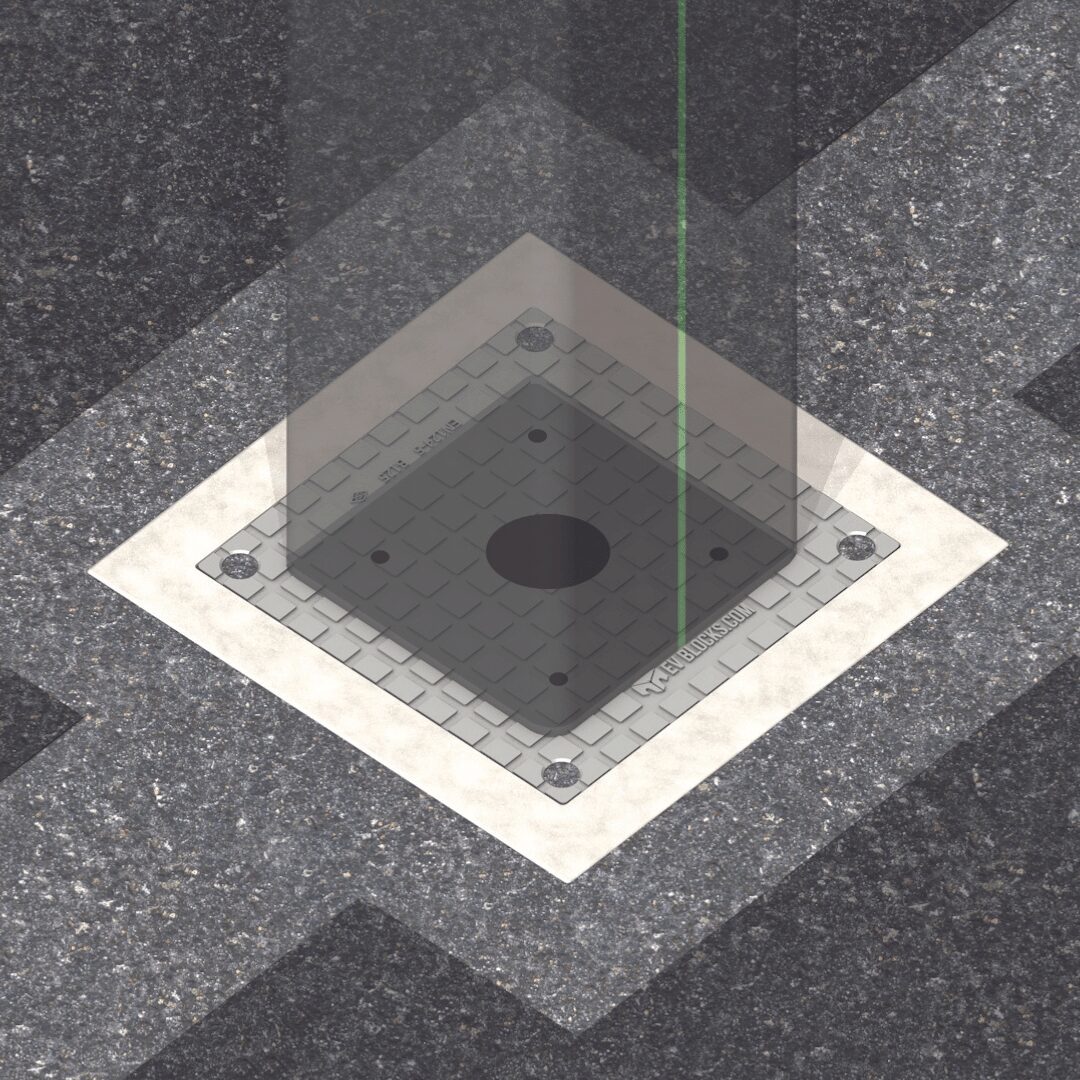
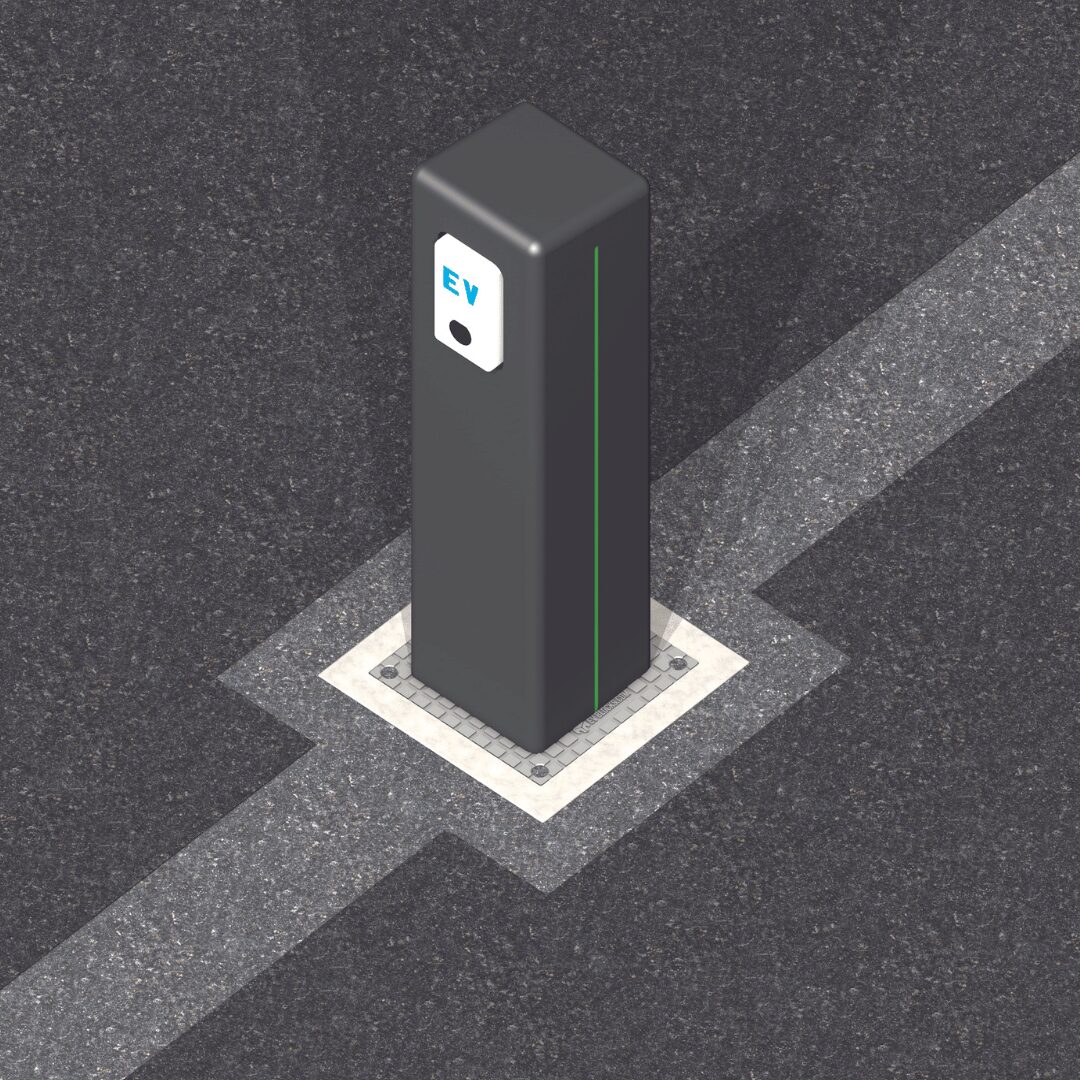
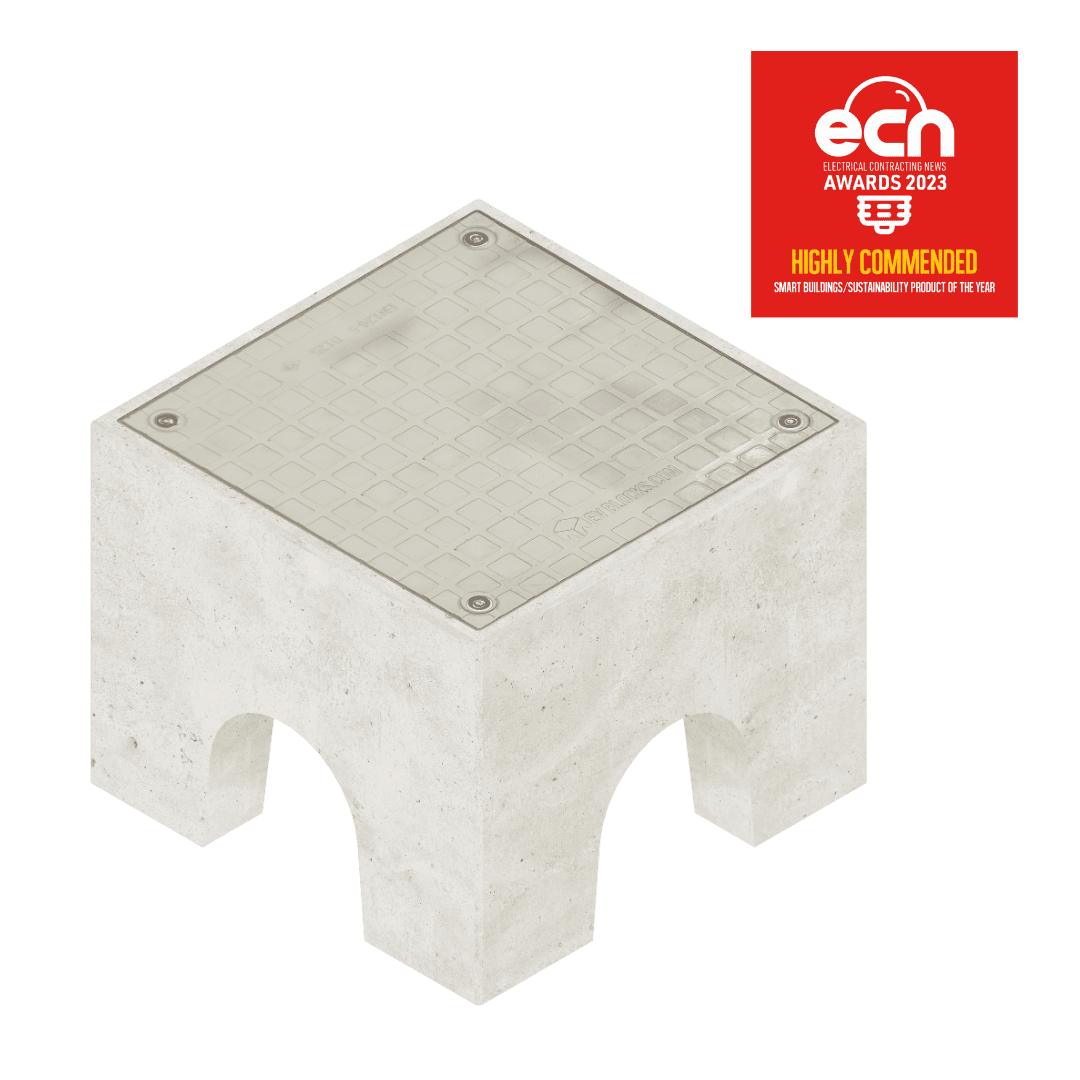
With its universal adaptor plate, EV Blocks make electric vehicle charging point installation easier than ever.

The step-by-step installation process quickly delivers superior foundations for your electric car charging station. You can install EV Blocks in any weather, meaning you never have to worry about picking the right moment.


Step 1 – PREP AND EXCAVATE AREA

  1. Mark the location in which the EV Block will be installed (survey as required).
  2. Excavate to the lines and grades shown on the construction drawings. Excavation may be completed using auger drilling or typical open-cut excavation. Care should be used to minimize over-excavation (unless required) or disturbance of the surrounding soils.
  3. Excavation limits should extend a minimum of 4 to 6 inches (10cm to 15cm) beyond the edges of the EV Block unit.
  4. The bottom limits of the excavation should extend at least 6 inches (15cm) beyond the height of the EV Block unit or local frost depth requirement, whichever is greater. The bottom limits should be well compacted and flat to allow for installation of at least a 6-inch-thick (15cm) crushed stone foundation. Greater amounts of crushed stone will be needed in areas where over-excavation to meet local frost depth requirements is required. The crushed stone foundation shall be compacted so as to provide a smooth, hard surface on which to place the EV Block unit.

Step 2 – PLACE EV BLOCK AND CONDUIT

  1. Lift the EV Block unit by using the double basket method with two nylon straps set 90 degrees opposite of each other and placed within the U-shaped openings in the sides. Nylon straps used shall be properly rated to adequately support the weight of the EV Block unit.
  2. Lower the EV Block unit into the excavated hole ensuring that the side openings are properly aligned for the site and installation requirements.
  3. Once the EV Block unit is in place, ensure that it is level in both directions and that the upper surface elevation is set to the project requirements within +/- 1/2- inch (1.25cm).
  4. Brace the EV Block unit as required to maintain the location and level until the unit can be backfilled.
  5. Once all of the conduit is installed via the side openings backfill the EV Block unit using either crushed stone or granular backfill. Either backfill material used shall be placed in maximum 6-inch lifts (15cm). If granular backfill is used, the material shall be compacted to 95%Standard Proctor density determined in accordance with ASTM D698. Backfill material shall be placed to an elevation as shown in the Project Plans accounting for any paving or landscaping material that is to be installed around the unit.
  6. Install the required paving or landscaping material around the EV Block unit as shown in the Project Plans.

Step 3 – Mount Charger Pedestal & Install Adaptor Plate

  1. If not removed already, remove the adaptor plate from the top of the EV Block by removing the bolts in the corners. Note that the supplied bolts require a specific driver bit that fits into the tamper-resistant head.
  2. Obtain a pedestal bolting diagram from the EV charger manufacturer. If a bolting diagram cannot be obtained, the actual pedestal may be used.
  3. Secure the bolting diagram to the bottom side of the Adaptor Plate ensuring that it is properly centered and aligned on the plate.
  4. Transfer the pedestal bolting locations to the Adaptor Plate using a marker pen or other marking device.
  5. Remove the bolting diagram and drill holes through the Adaptor Plate at the marked locations. The diameter of the hole may vary but should be large enough to accommodate the required bolting hardware for  securing the EV charger pedestal. At the same time use a hole saw to cut a hole big enough for your cables to enter the charger.

Step 4 – Mount Charger Pedestal & Install Adaptor Plate

  1. Secure the EV charger pedestal to the Adaptor Plate using stainless steel bolts, nuts and washers. It is recommended that stainless steel lock nuts are used but are not required.
  2. Place the Adaptor Plate and pedestal back onto the EV Block unit and secure the Adaptor Plate using the supplied bolts and washers.
  3. Complete the required wiring for the EV charger. Refer to the EV charger manufacturer’s instructions for any wiring requirements.
See Our Full Product Range

See Our Full Product Range